
Tutorial: Mini Christmas cards and envelopes

This year I decided to make mini Christmas cards and envelopes (well, A7 sized ones). This was because I found some super cool Christmas pudding paper (made by Vivid but I bought it in Fenwicks in Newcastle) that I wanted to cut up and stick on to a card, and I decided that a single pudding would have got a bit lost on a bigger card. But my Christmas plans have been incredibly last-minute and I was up until midnight on Tuesday making and writing them so that I could make the 2nd class post deadline – argh! I’m normally super organised but this November and the start of December completely passed me by!

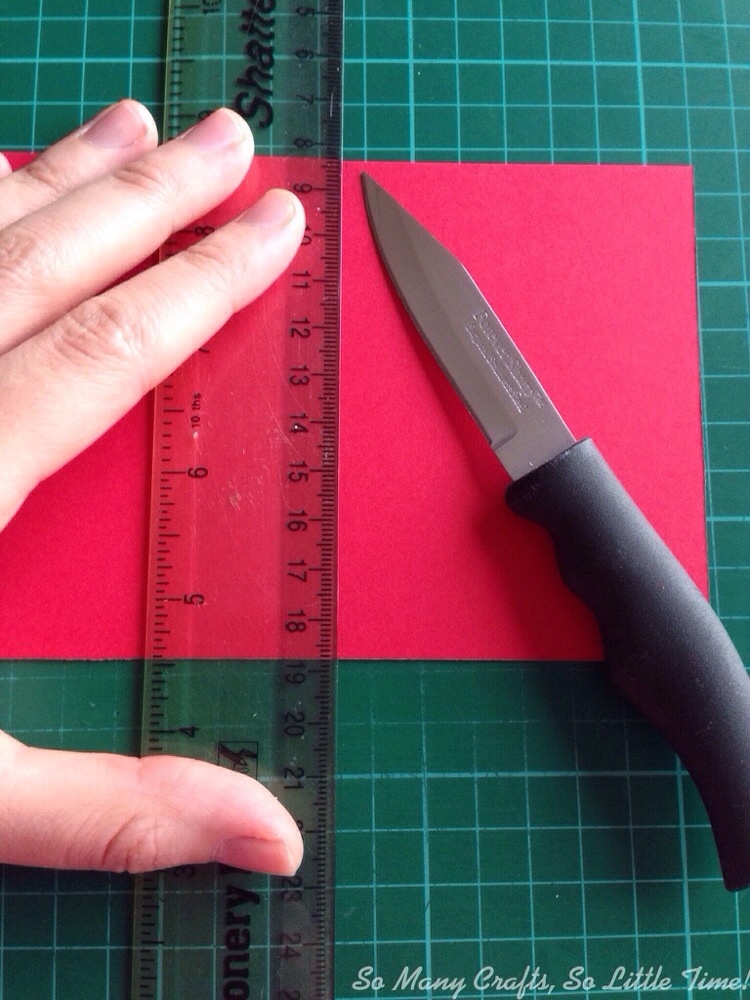
The first thing I did was to cut some A5 card in half, and I cut around all of my Christmas puddings so that they were ready to stick on. Then I measured each bit of card and scored them with a knife so that they would fold more easily.
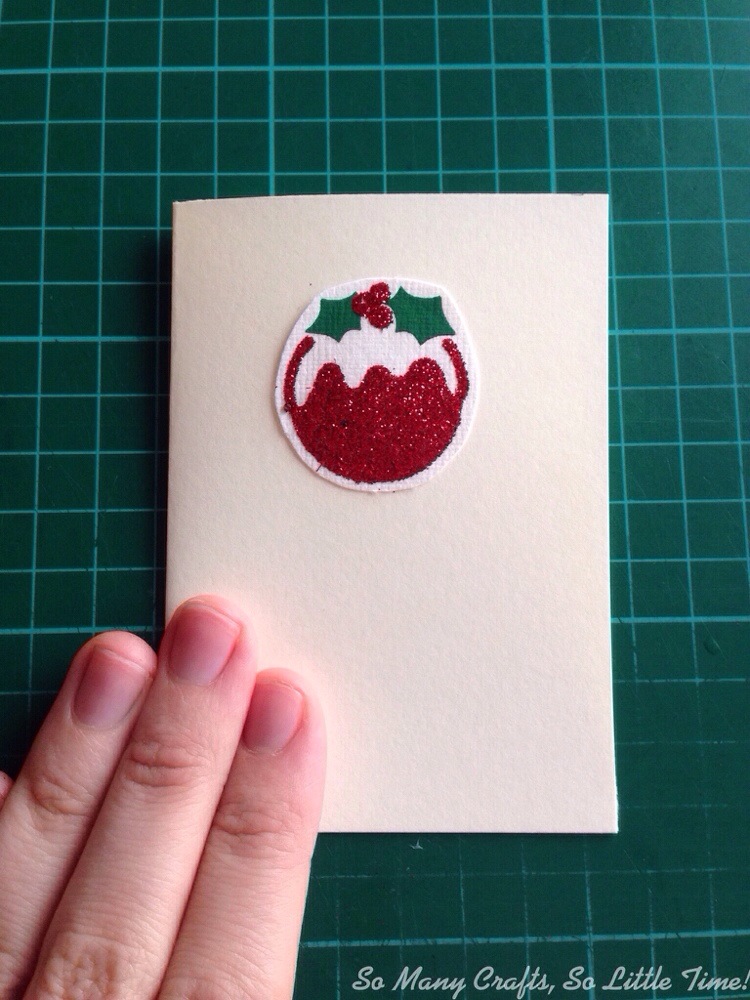
I stuck the puddings on the front of my cards, using cream card for the red ones and red card for the gold ones, just to add contrast. I think they look great all stood up together!

After I’d made them all, I decided to write ‘Merry Christmas’ on the bottom in gold ink – I’m glad I did because it really finished them off nicely! The next job was to make the envelopes, and I chose this lovely Caroline Gardner paper as it has a small, festive print.

I cut out the envelope shapes (you can download my mini envelope template) and folded the sides using a ruler.

Then I measured out some pieces of double-sided tape and stuck the sides down.

The final step is to measure some tape to be able to seal the envelope – just remember not to peel the backing off until you’re ready to post!

There’s still a little bit of time to make a lovely handmade card for your friends and family, so why not have a go?! If you haven’t seen my original envelope tutorial or my lined envelope tutorial then you might like to have a look! 🙂
Newsletter sign up
Sign up to my newsletter, 'Take time out to be creative' - it only drops in your inbox once or twice a month, and is packed full of creative inspiration.


[…] And that’s it – how easy is that?! I’m really pleased with how they turned out We sent them out in some little yellow envelopes that I made. If you’d like to make your own, then you can check out my mini envelope tutorial here. […]
[…] These little envelopes are perfect for storage! If you’d like to learn how to make them, see this tutorial on Clare’s blog: […]