
Tutorial: How to make your own bunting cards

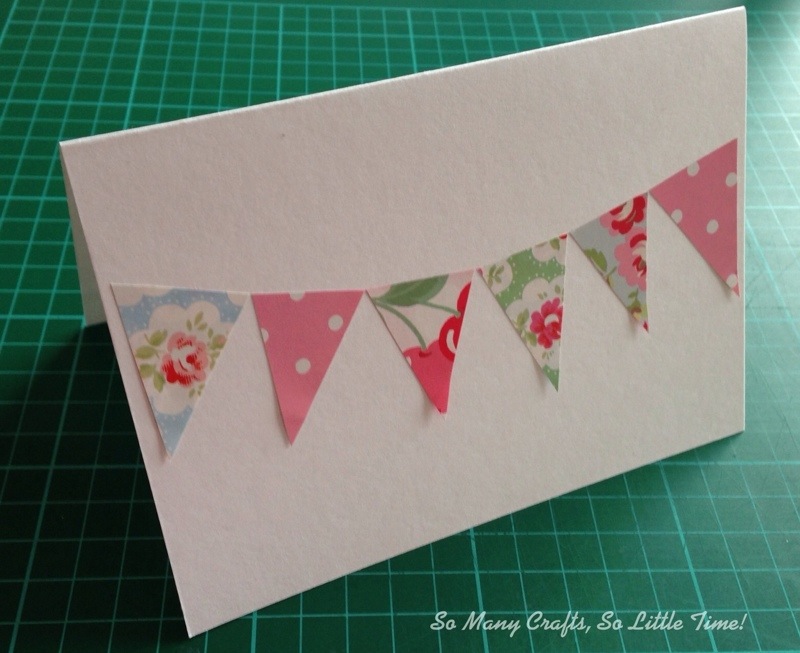
Before our wedding, I had hoped to make these lovely little bunting cards to use as our thank you cards – but by the time we got back we were back at work in a flash and I didn’t have the time. But they would have made excellent thank you cards! In fact, they’re great for any occasion, because, let’s face it, you can’t beat a bit of bunting! You can customise them for any colour scheme, or make smaller bunting – the options are endless. If you’re using patterned paper then try to pick smaller patterns to get as much as you can on the card.
You will need:
A5 card (for as many cards as you want to make, folded in half)
Some paper scraps in colours and patterns of your choice
A glue stick
Scissors
1. Fold your card to the desired size – I’ve used white card because it makes the bunting stand out really well. Select the paper for your bunting and cut out some small triangles.

2. Open out the card (face up) and lay out the triangles so that you can work out where they should be. I’ve used 6 triangles here, but use as few or as many as you can fit on the card, depending on the size.

3. Glue the triangles to the card, starting from the triangles in the middle. Don’t glue right to the point of the triangle so that you can curl it up a little at the edges.

4. Ta-dah! That’s it – easy peasy! 🙂
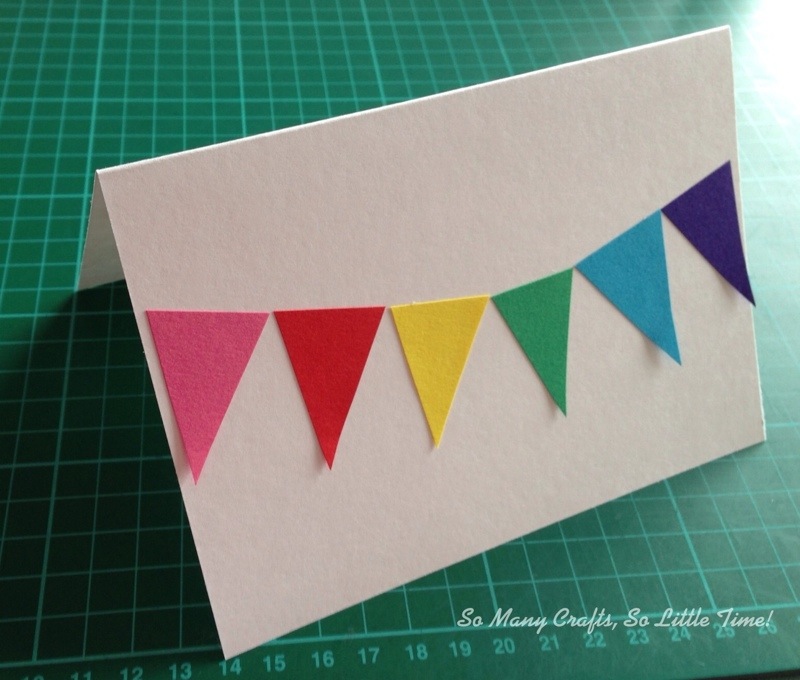
Here are some others that I’ve made to give you some ideas:

You could send these little cards in handmade envelopes – check out my tutorial here.
Newsletter sign up
Sign up to my newsletter, 'Take time out to be creative' - it only drops in your inbox once or twice a month, and is packed full of creative inspiration.


Really cute papers Clare, I especially like all the pink, flowery ones on your last card