
Simplicity blogger challenge
Over the past few weeks, I’ve been working on my dress for the Simplicity blogger challenge – and (with only a couple of days to spare) I have finished. Phew! When I heard about the challenge I knew I’d have to give it a go, and had an idea of what I wanted to do straight away. Other than my Tilly and the Buttons Coco dress (which I still haven’t blogged about) I have never actually made a dress! I have made tops and skirts, waistcoats and even that pair of trousers for Tom, but never a dress. This is also my first time adapting a pattern too, so I really have learnt a lot by making this dress! Having completed it, I’m definitely hooked on making dresses, so I will have to get around to making more. This dress is entered in the ‘best dressmaking project’ category.
As part of the challenge, Simplicity sent out a pattern for each category. The pattern for the ‘best dressmaking project’ is New Look 6145 – this lovely shift dress. Because of my shape I really don’t suit a shift dress (sadly) as they’re a bit snug on the hips, so I knew that I’d have to do some pattern adapting in order to change the skirt, and therefore the bodice as well. But I did want to get my head around how the pattern works, so decided I’d make a practice shift dress first anyway.

When I tried it on, it fit perfectly on top but not on the bottom – just as predicted! But it was really good to practice inserting the invisible zip, and I felt much more confident about doing this afterwards. My lovely friend Laura is probably going to have this practice one – I need to do some alterations on the top for her first, so that will be another skill that I can learn from this project!

I worked out the length of what will be the bodice for my adapted pattern, and made a mock-up of it so that I could try it on. I kept the original bust darts but needed to insert a couple of extra ones at the front to gather it in a little at the waist.

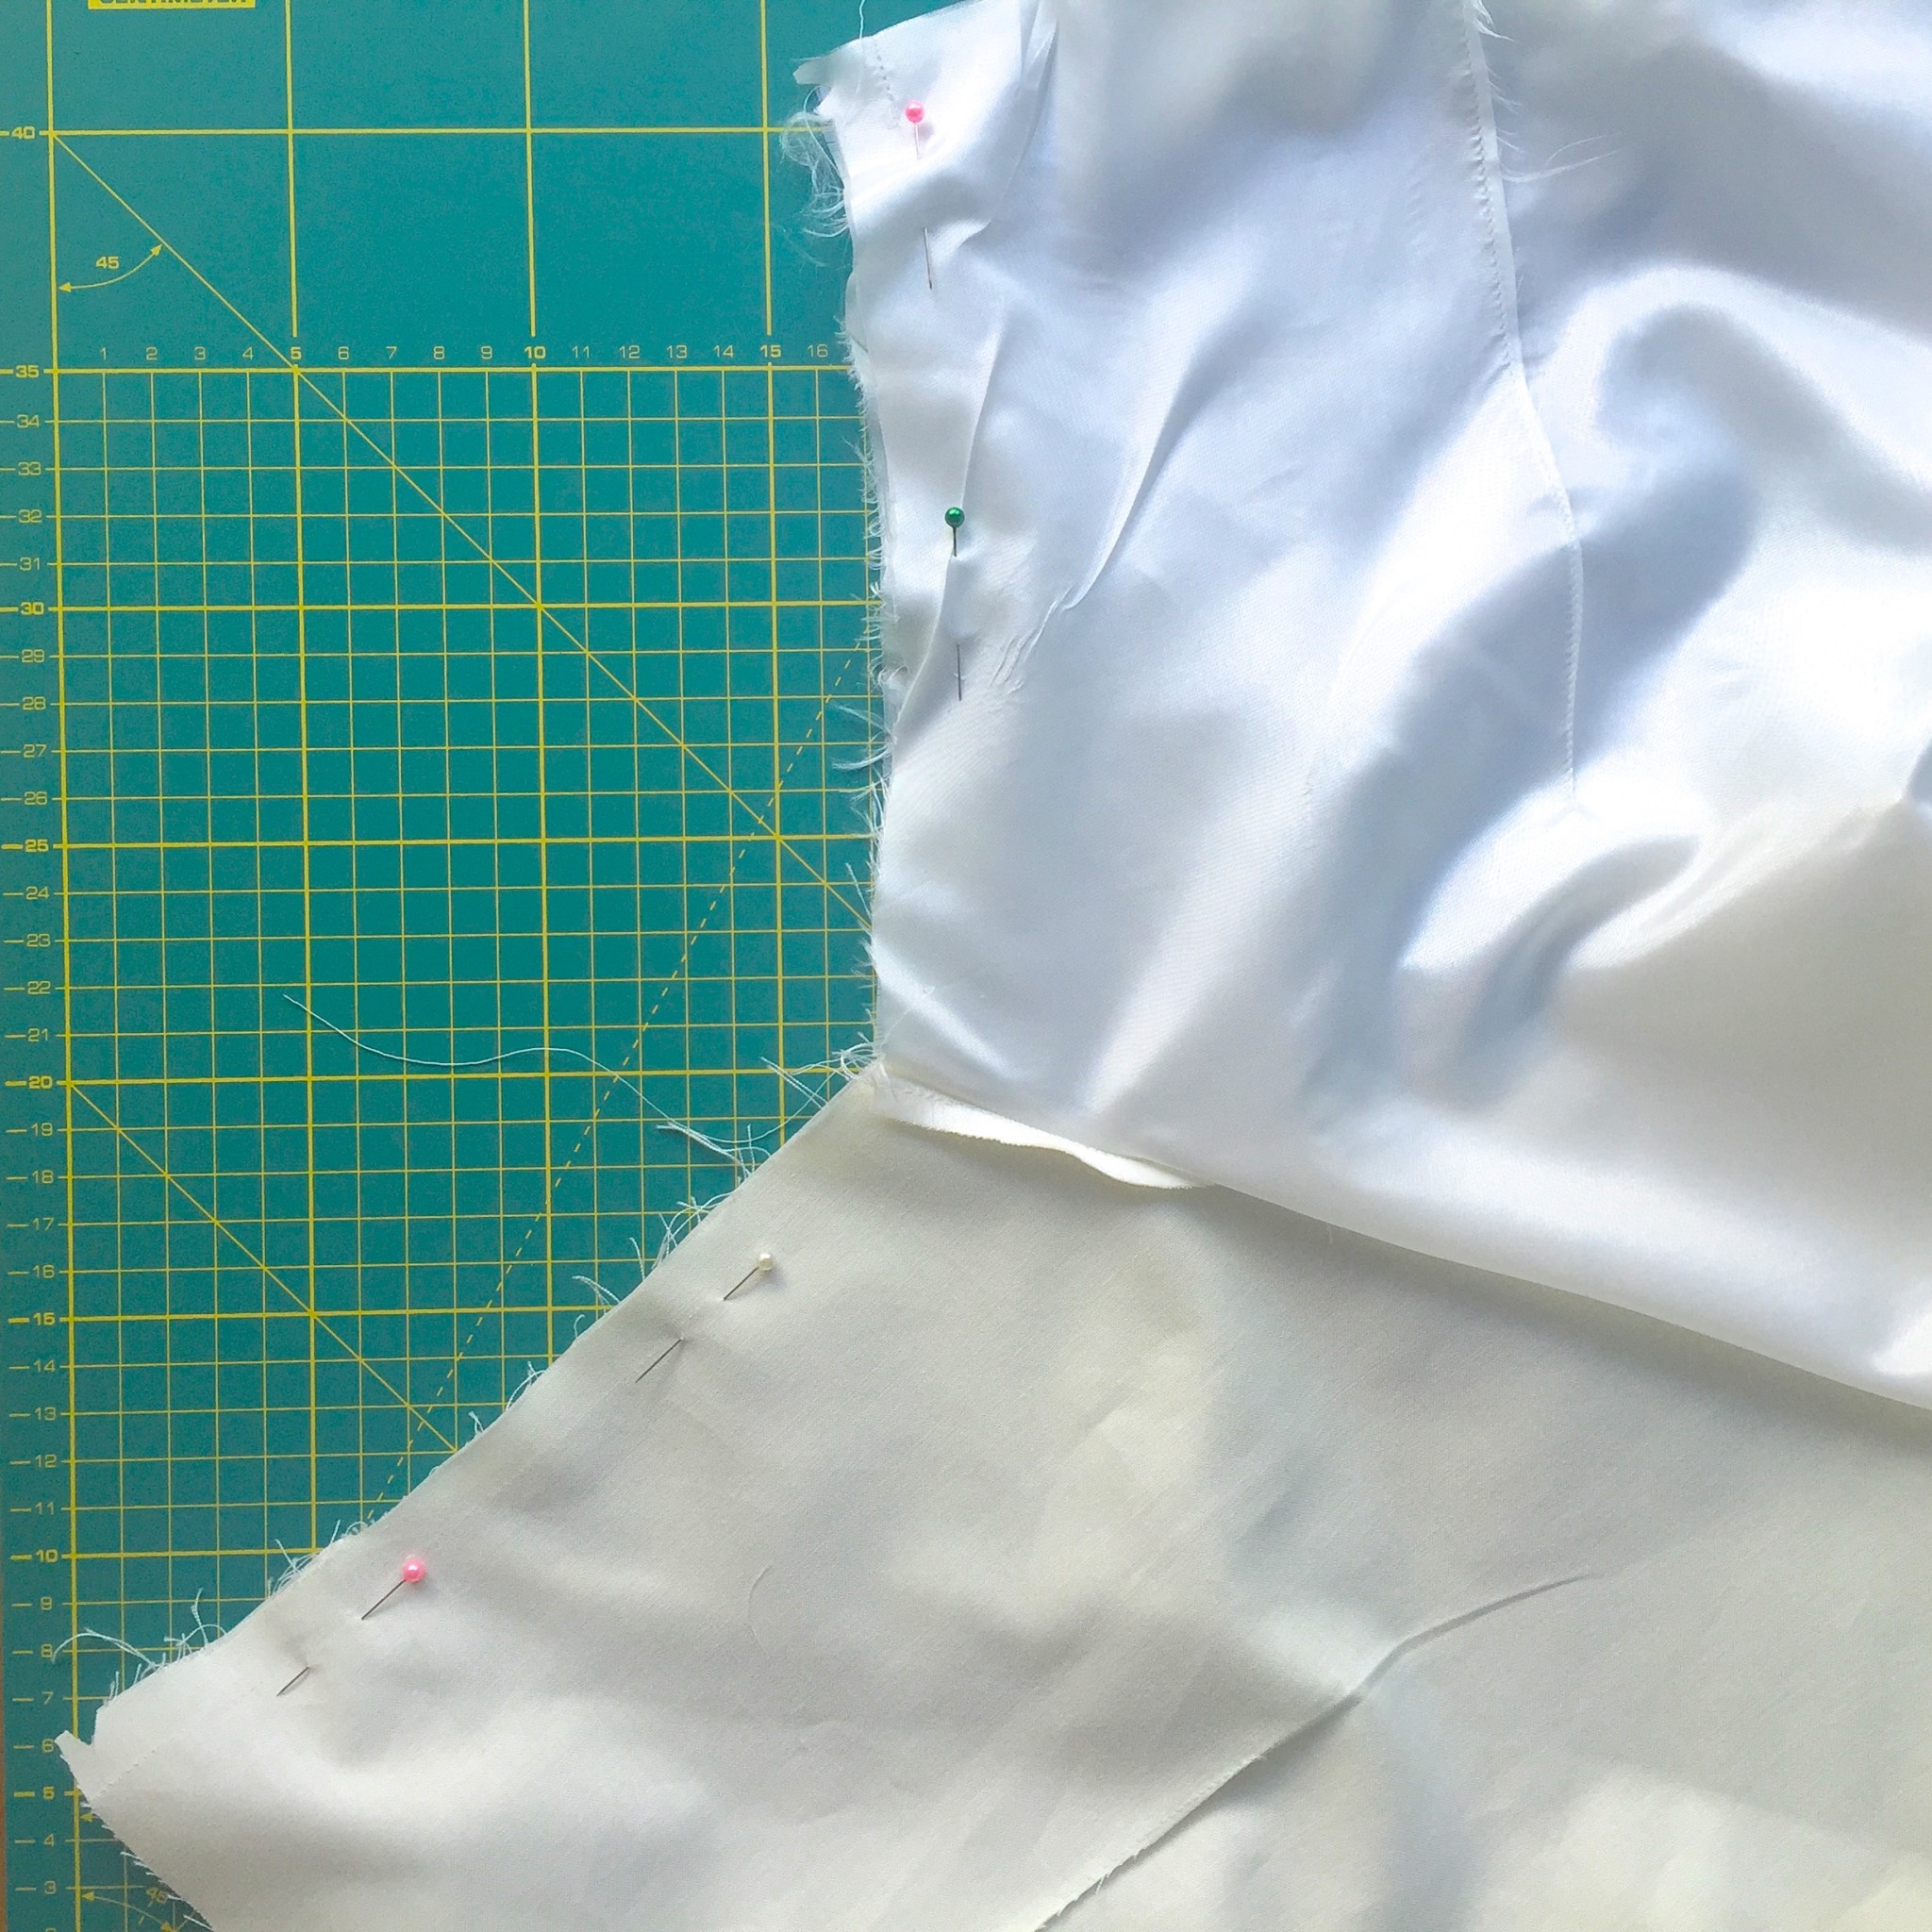
I used this lovely cream fabric from John Lewis for my dress – I don’t usually sew with plains, but because of my plans for flowers I needed to keep it simple. But it was a bit see-through so I decided to line it too, which was another addition to the original pattern. I’d never done this before either, so I looked up how to do it and adapted it to my pattern. Next time, I’d finish the edges of the fabric before sewing – it was a nightmare picking lining fluff off everything!
Once the bodice was complete (except for the zip), I made a gathered skirt – another new technique for me! I looked it up in Tilly’s book, Love At First Stitch, and it’s a really helpful tutorial. It’s good to have a pattern for a gathered skirt that I can now use for other projects too. I lined the skirt and then attached it to the bodice – didn’t take any photos of this as I was too busy concentrating on not messing it up! The next stage was to insert the zip. I kept the length the same as the original New Look pattern and used a 22″ concealed zip. There’s a brilliant tutorial on the Simplicity website about inserting them, which I watched a few times to refresh my memory! Thankfully it went in fine, and then I just had to finish the seams and the bottom hem.
The next stage was the fun bit – the fabric flowers! I bought some charm packs of silks from eBay and some tulle and lace ribbons, and cut out some flower shapes and layered them up. I joined the layers with a few stitches and then attached them to the waistband (you could make them on a sash if you prefer). Once I had done this, I decorated them with beads and pearls to make them look extra special!


I had really wanted to include a few more flowers around the waistline, and then sort of falling down the skirt a bit more – but I ran out of fabric and time, so I’ll have to add them on later! I underestimated how much fabric the flowers need, so bear this in mind if you ever make them yourself. But overall I’m really pleased with how it turned out!


Thanks to Tom for taking these photos – it’s so windy today and the sun kept going in and out, so it was difficult to take them! I’ve learnt quite a lot by entering this competition – how to adapt a pattern, how to line a dress (when it’s not on the pattern), how to insert extra darts, how to insert an invisible zip (properly!), how to make a gathered skirt…and I’ve also learnt that I could really do with a tailor’s dummy if I’m going to do this again! 🙂 Right, I’m off to see what everyone else has made – you can do this by searching for #Simplicitybloggerchallenge on Twitter.
Newsletter sign up
Sign up to my newsletter, 'Take time out to be creative' - it only drops in your inbox once or twice a month, and is packed full of creative inspiration.


Lovely, Clare, I hope you do well in the competition, and that we have the summer weather for you to enjoy wearing it.
Aww, thanks Jennie! 🙂 Yes, we could do with some warm and sunny weather couldn’t we?! How are you? Have you been doing lots of craft fairs recently?xx
Wow, Clare, I just stumbled across this and am soooo impressed with your dressmaking skills. Beautiful! x
Thanks so much, Sandra! 🙂 Hope you are well xxx