
Making my first stamps

Making my own rubber stamps was one of my top crafty plans for 2014, and today I had my first attempt! I received this amazing book for my birthday (thank you Helen and Keith!) – ‘Making an Impression‘ by Geninne D. Zlatkis. The photos are so inspiring and the instructions throughout the book are really clear, so if you’re a beginner or more experienced I’d highly recommend it! I really love these stationery ideas:

And when I’m a bit better at stamp-making, I’d love to make this bird cushion:

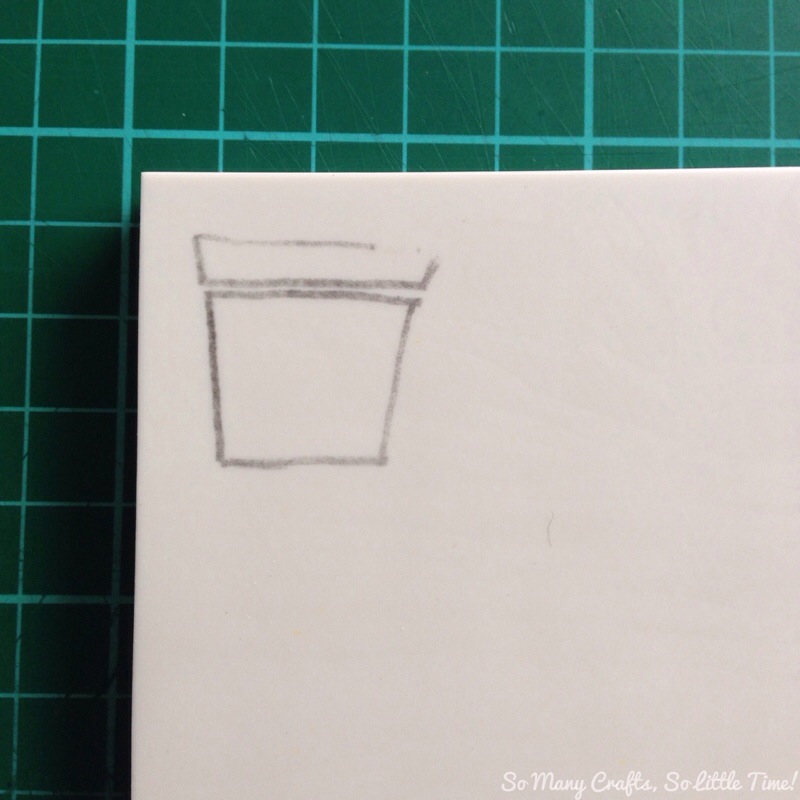
For my first stamps, I decided to go for a simple plant pot and flower stamp. I had designed some funky geometric patterns (see first photo!) but I realised that they would probably be a bit tricky. The first step was to transfer the design on to the rubber (I bought mine here).
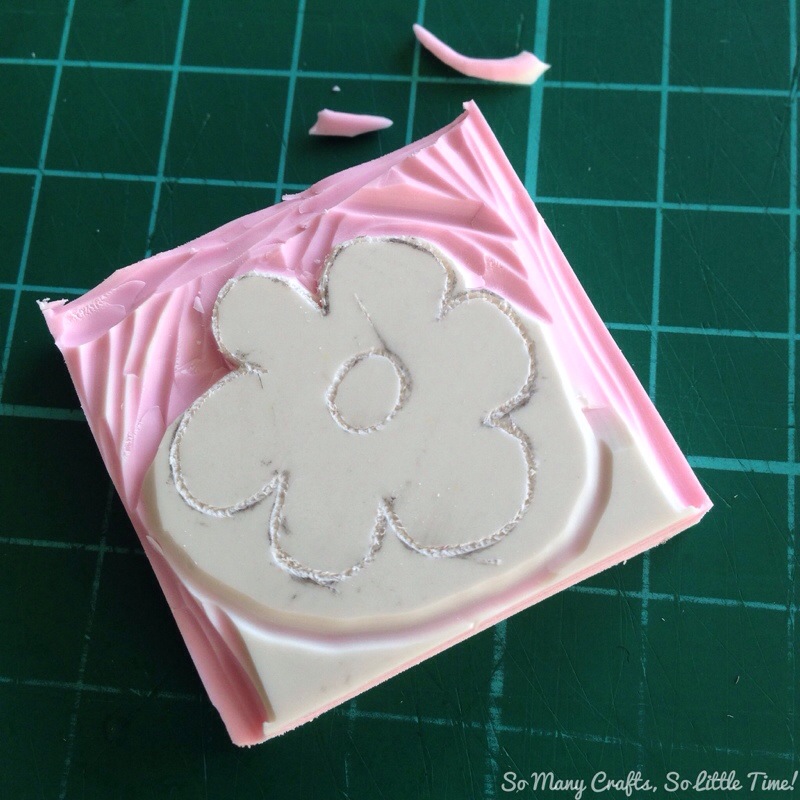
Then I used the size no.1 lino cutter to mark out the basic edges:

After that, I dug out a bit more around the edge using the no.2 and no.5 size lino cutters:

When my pot was finished, repeated these steps with the flower design.
Then I just had to test them out, keeping my fingers crossed that I’d done it ok! 🙂
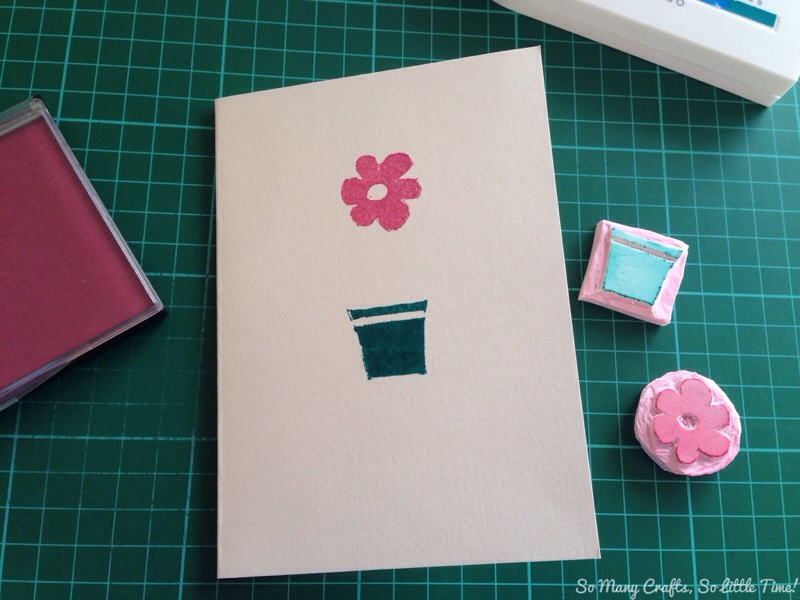
I’m really pleased with my first attempt, but this is definitely something to keep working at, so I’ll keep trying…with these stamps, I drew in the flower stem with a pencil. I think that this would make really nice cards!

Newsletter sign up
Sign up to my newsletter, 'Take time out to be creative' - it only drops in your inbox once or twice a month, and is packed full of creative inspiration.


Ohhhhhhh, I love love that Clare! Endless possibilities and I do really really love the bird pillow. Your first try turned out really sweet and whimsical 😀 I could see a ting quote inked under it like ‘Hello’ or ‘Wish’….so so sweet. I remember doing those relief edgings in grade school with those cutters. More than a few fingers nicked. They’d probably think it’d be madness now 😀
Thank you Kelly! I kind of wanted to draw a little smiley face in the centre of the flower 🙂 Love your idea about the quote – that would work so well. You should have a go at doing it again! I might get some small erasers to do some more smaller designs 🙂 xx
What a new project!
Thank you so much! 🙂 I’ve just found you on bloglovin’ – yay!xx
Yay to new friends!!
Yay! 🙂
[…] will already know that one of my crafty plans this year is to learn how to make my own stamps (see my previous post about stamp-making if you haven’t already!). I have a new found admiration for anyone who can make beautifully […]